BIOENGR 167L - Bioengineering Laboratory
BE 167L - Bioengineering Laboratory
Lab 8: Growth Kinetics (MTS Assay)
Prelab reading
Read the posted technical article from BioTechniques (vol 37, p406-412, 2004). Also read the instructions for the CellTiter 96 AQeous One Solution Cell Proliferation Assay from Promega.
You will learn how to use the MTS assay, which is a measure of metabolic activity of living cells. Since all cells in a given population generally have similar metabolic activity, this assay can have a relatively linear correlation to the number of live cells. Rather than a measure of total protein content, like the BCA assay, which can include already dead cells and secreted proteins from cells, this assay measures an activity of LIVING cells. Can you think of reasons to use the BCA assay over the MTS assay? Can you think of reasons to use the MTS assay over the BCA assay? The posted article describes conditions under which the MTS assay become inaccurate as an indicator of cell number. It is important, when learning new assays, to understand how they work so that details that may contribute to discrepancies are found sooner rather than later. In your future work, be conscientious about doing your research into products and kits purchased from companies. Make sure they are appropriate for your working range and you perform the proper controls before collecting data on your experimental samples.
You will collect and count your cells from your two seeding conditions from 1 well (of your 4), then you will measure metabolic activity with the MTS assay (CellTiter 96) in the remaining wells. You will use some of your left over cells from your counting wells to create a known concentration of cells and serial dilutions to generate a standard curve for cell number. Based on your cell counts and your standard curve, you can determine the accuracy and range of your MTS assay. Compare your results with the rest of the class the next time you meet and discuss what your collective results mean.
Watch the lab primer video.
Gauging confluency
Preparation
Reagents
- Complete medium from previous lab
- Sterile DPBS from previous lab
- Trypsin
- Your T25 flask and 96-well plate of 3T3 cells from the previous lab (shared between groups)
- MTS reagent: CellTiter 96 AQeous One Solution Cell Proliferation Assay
Supplies
- Pipettes and tips
- Pipet-aid and serological pipettes
- Microcentrifuge tubes
- 15 mL conical tubes
- 1 96-well cell culture plate (from previous lab)
- 1 T25 flask
Equipment
- Phase contrast microscope
- Centrifuge
- Hemocytometer and cell counter
- Microcentrifuge
- Plate Reader
Procedure
You must do this lab in sequence to ensure that you have enough cells for your standard curve. Lab partners can trypsinize the 96-well plate and the T25 flask in parallel, but make sure you coordinate how you will combine all your cells in the later steps. Read through the entire procedure before you begin so you can coordinate your tasks efficiently. Be careful this time with your volume measurements. The counting and assay are dependent on concentrations so you must be rigorous about creating precise dilutions in order to make meaningful comparisons.
Cell counting and standard curve seeding
- Check confluency of the cells you seeded in the 96 well plate. Coordinate with the TA to get a look at the wells you seeded.
- Previously, you seeded 4 wells each of different densities. You will trypsinize (100 µL trypsin) one of each density and leave six wells (three of each density) untouched.
- Once the cells are detached, add exactly 200 µL of media to each and rinse/pipette to detach the cells and suspend them uniformly.
- Remove the cells from the trypsinized wells and count them on the hemacytometer, you may need to either concentrate or dilute your cell mixture.
- Put the 96-well plate back into the incubator.
- Count each of the cell suspensions you collected in the microcentrifuge tubes and calculate how many total cells were in each well and their cell densitites and record them in your lab notebook.
- Your lab partner may, at the same time, trypsinize the T25 flask and count the number of cells in that flask. Try to count your cells after resuspension (Note: you should try to do this in general from now on)
- In your assigned rows of the 96 well cell culture plate, you will seed a serial dilution of your trypsinized cells from the flask.
- Resuspend your cells in fresh media so that you have 1 million cells/mL in the 15 mL tube from your T25 flask.
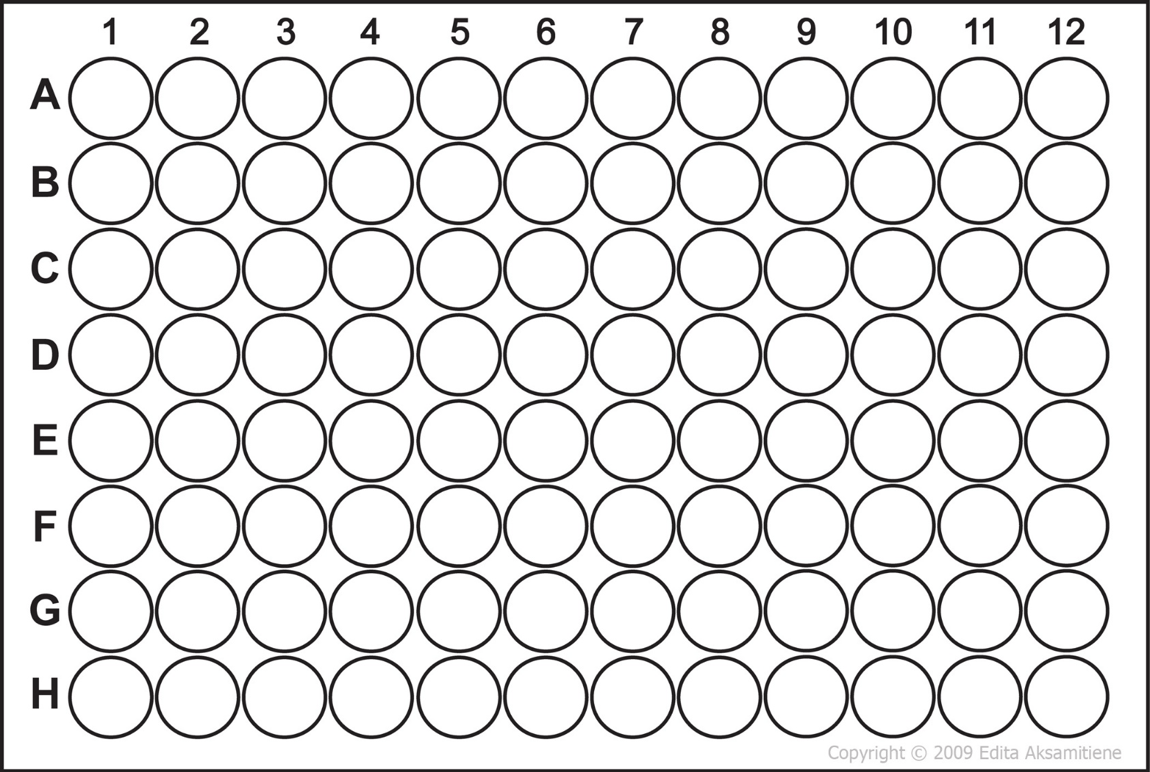
- Plate 6 densities of cells into the plate, making sure that you have a total of exactly 100 µL of media in each well at the end: 0 (just medium), 3,000, 6,000, 12,000, 24,000, and 48,000 cells/cm2.
- You can now re-plate cells from your T25 flask into a new T25 flask for next week’s labs. Make sure you don’t seed too densely! Based on your experience from now you should be able to estimate how dense you need to seed them. You may ask your TA for assistance if you are unsure.
MTS assay
- Your TA will have the CellTiter 96 AQeous One Solution Cell Proliferation reagent thawed and ready for your use. Collect a 250 µL of the CellTiter reagent from your TA.
- Aspirate the medium from your remaining wells, which you did NOT trypsinize. And add 100 µL of fresh media back in.
- Add 20 µL of CellTiter 96 AQeous One solution to each of your wells from the 96 well plate (each well should already contain 100 µL of media)
- Allow the 96-well plates to incubate with the assay reagent for 1 hr.
- Your TA will now take the entire class to the plate reader to read the absorbance’s, make sure you record the values associated with your wells.
